

Rabbit MQ intro with .NET
Software Developer playing with .Net, C#, Azure, Cloud....
RabbitMQ
In simple language, It is a message broker. It’s a type of queuing system. It uses a standardised type of message queuing that is also used by Azure service bus (AMQP).
RabbitMQ allows us to create messages that will be similar to what is used in Azure Service Bus.
It is an open source system.
Setup a Docker Container
For this we will set up a docker container for rabbitMQ using the command below:
docker run -d --hostname rmq --name rabbit-server -p 8080:15672 -p 5672:5672 rabbitmq: 3-management
This would create a docker container running a RabbitMQ server (here management keyword defines that a management package is attached)

The below image displays the running RabbitMQ server docker container with all the port details

Access the RabbitMQ dashboard
Use the url present in the docker desktop under the Port(s) column which will redirect you to the login screen where you can use the credentials mentioned below:
User: guest
Password: guest
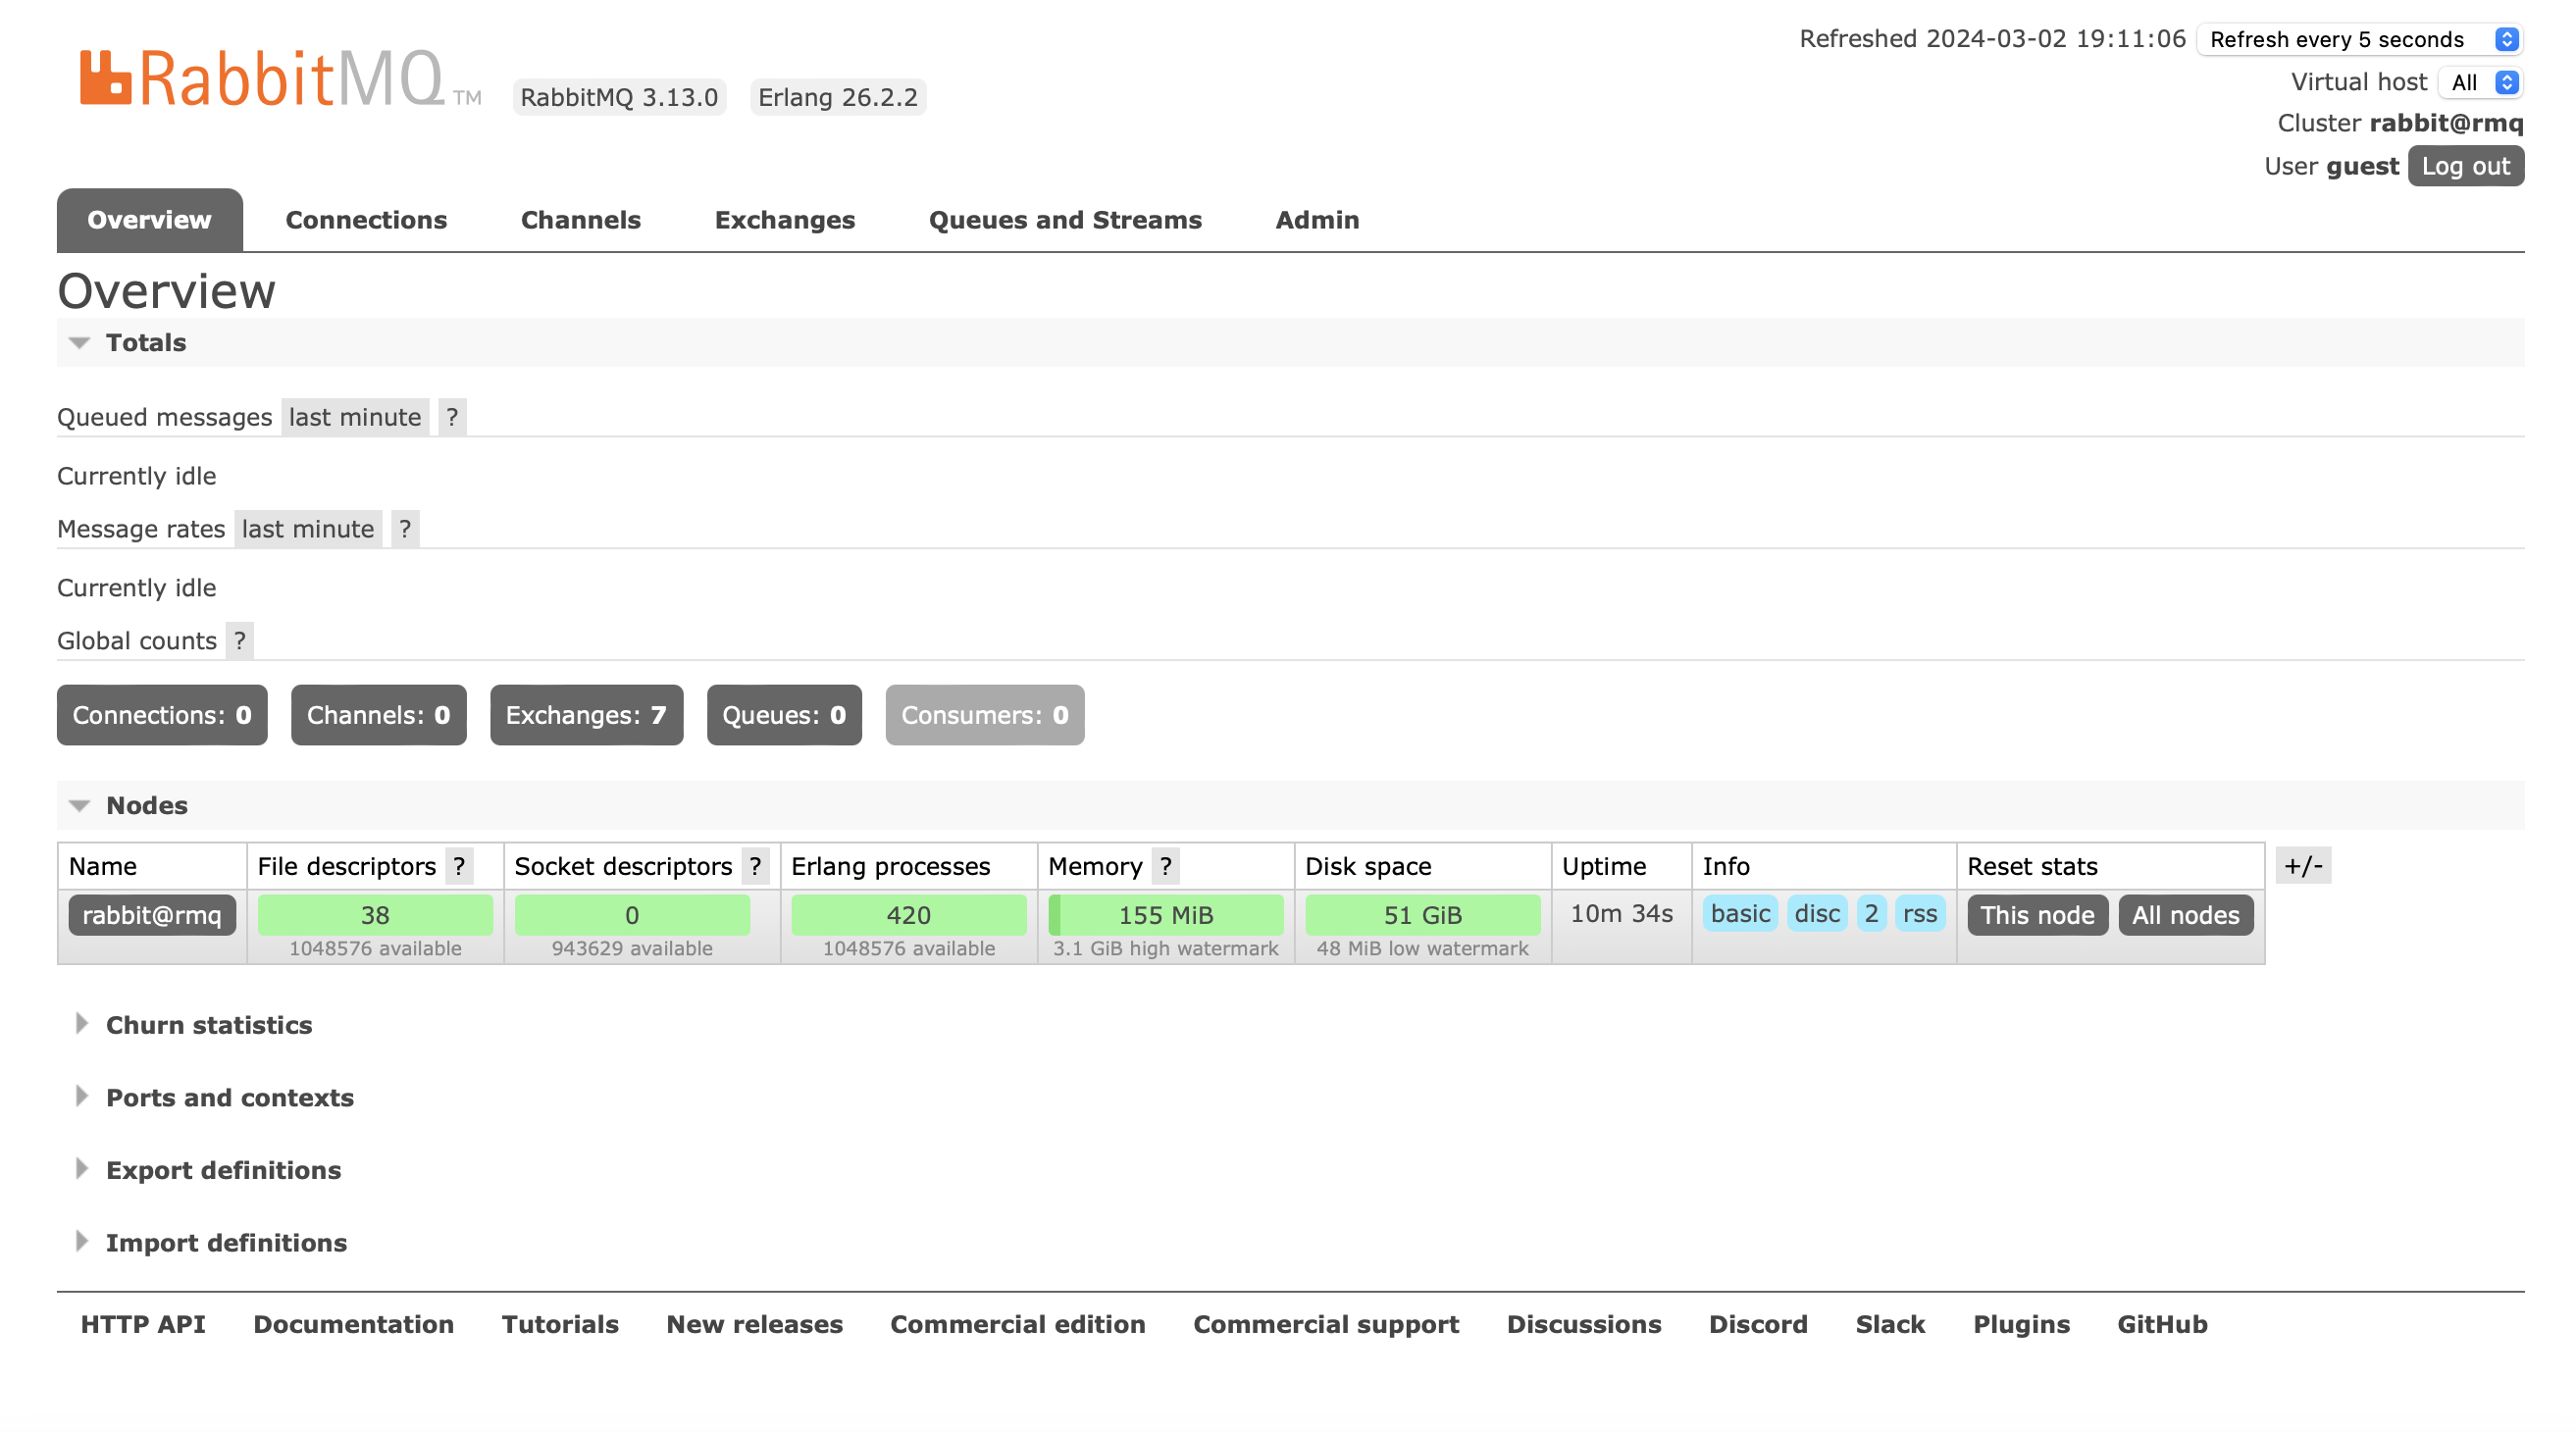
The RabbitMQ dashboard will look like this.
Download the nuget package
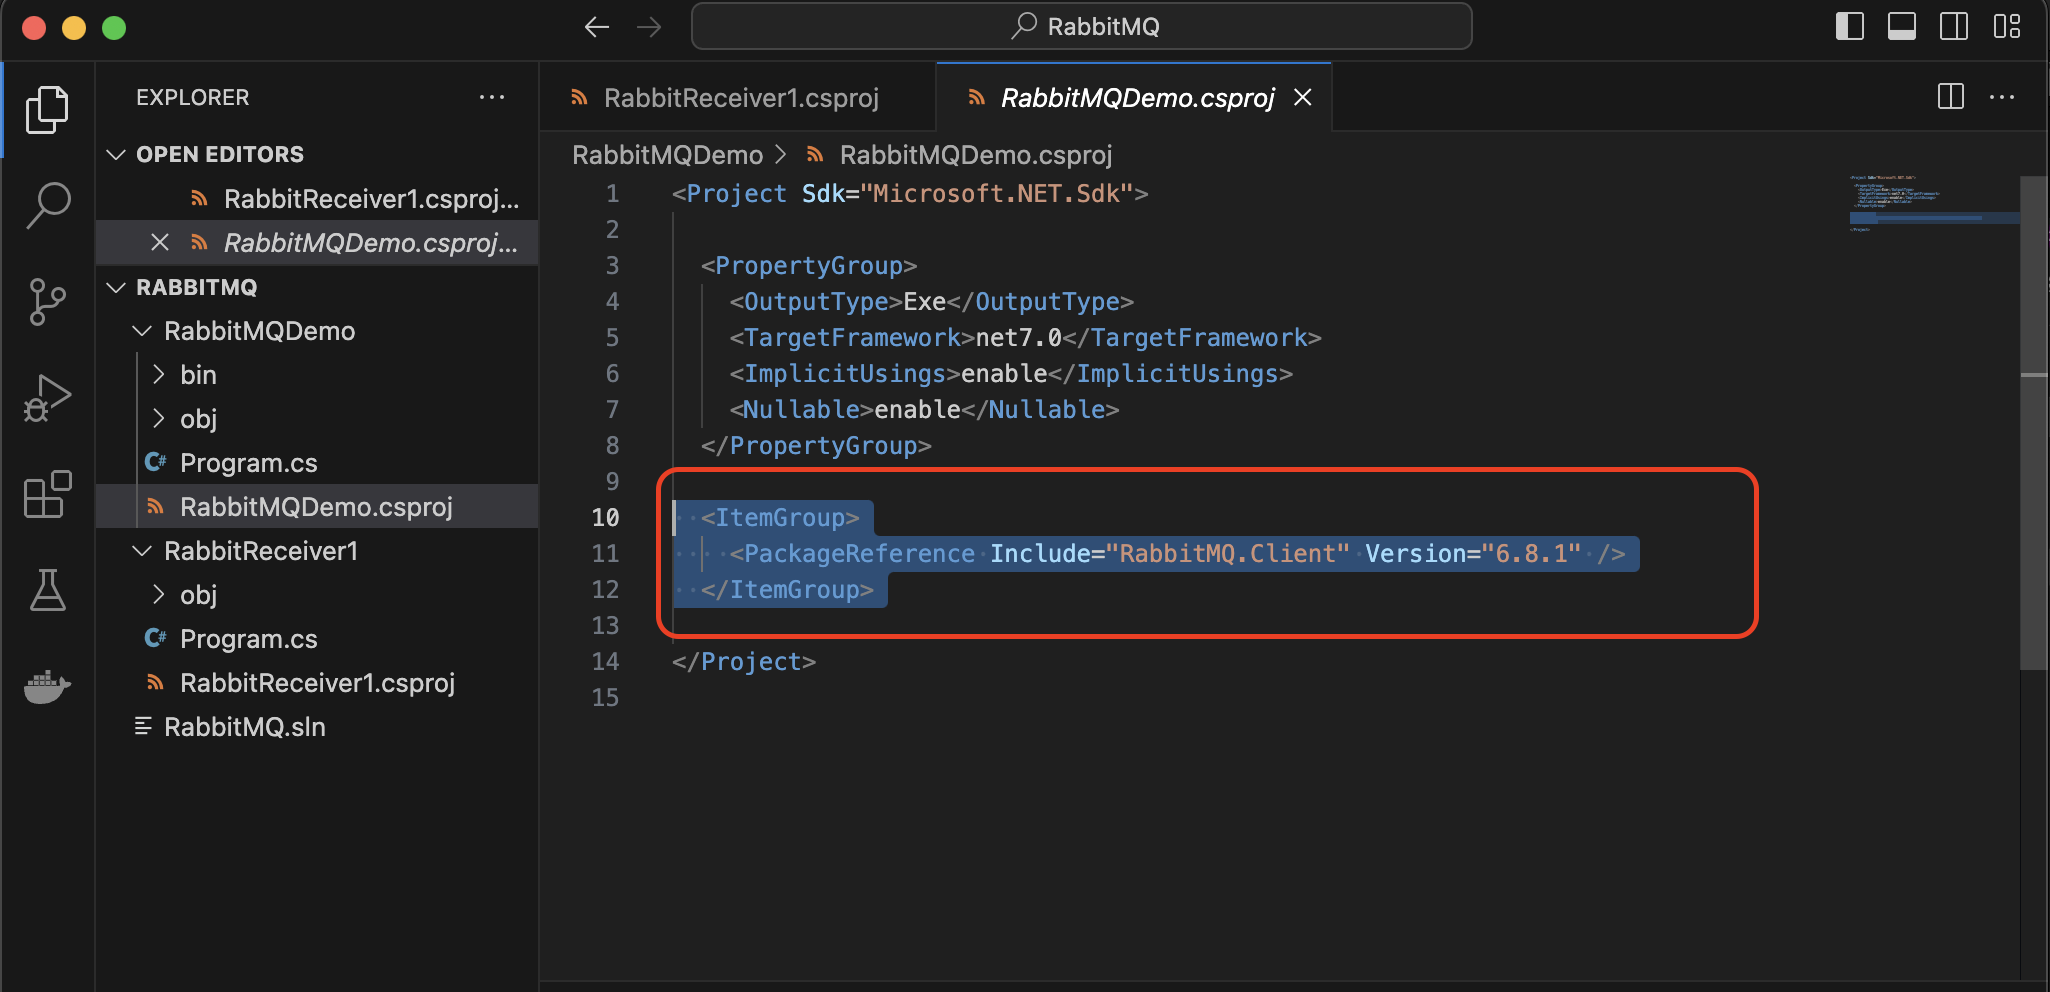
Use the Nuget package gallery to download RabbitMQ.Client nuget package in your solution

Create a Sender Application
Now, we will be creating a console .NET application in visual studio where I had named the project as RabbitMQDemo. The code goes as displayed below:
using RabbitMQ.Client;
using System.Text;

ConnectionFactory factory = new();
// Provide a Uri string below. Here guest:guest is the username and password respectively,
// 5672 is the port for sending queue messages to the server, defined in docker container
factory.Uri =new Uri("amqp://guest:guest@localhost:5672");
factory.ClientProvidedName = "Rabbit Sender App"; //Any name that you provide

IConnection cnn = factory.CreateConnection();

// IModel is the interface of RabbitMQ to create a model
IModel channel = cnn.CreateModel();

string exchangeName = "DemoExchange";
string routingKey = "demo-routing-key";
string queueName= "DemoQueue";

channel.ExchangeDeclare(exchangeName, ExchangeType.Direct);
channel.QueueDeclare(queueName,false,false,false,null);
channel.QueueBind(queueName,exchangeName,routingKey,null);

// When you send a message through a queue, it will just send as byte
// We have a message encoded as a byte array to be sent
byte[] messageBodyBytes = Encoding.UTF8.GetBytes("Hello Anvay");

//Use the channel to publish in the exchange
channel.BasicPublish(exchangeName,routingKey,null,messageBodyBytes);

channel.Close();
cnn.Close();
Run the code and you will find the details in the RabbitMQ server. There will be an exchange created (‘DemoExchange’ here, as mentioned in the code above)

Also, there will be a running queue present under Queues and Streams (DemoQueue here, as mentioned in the code)
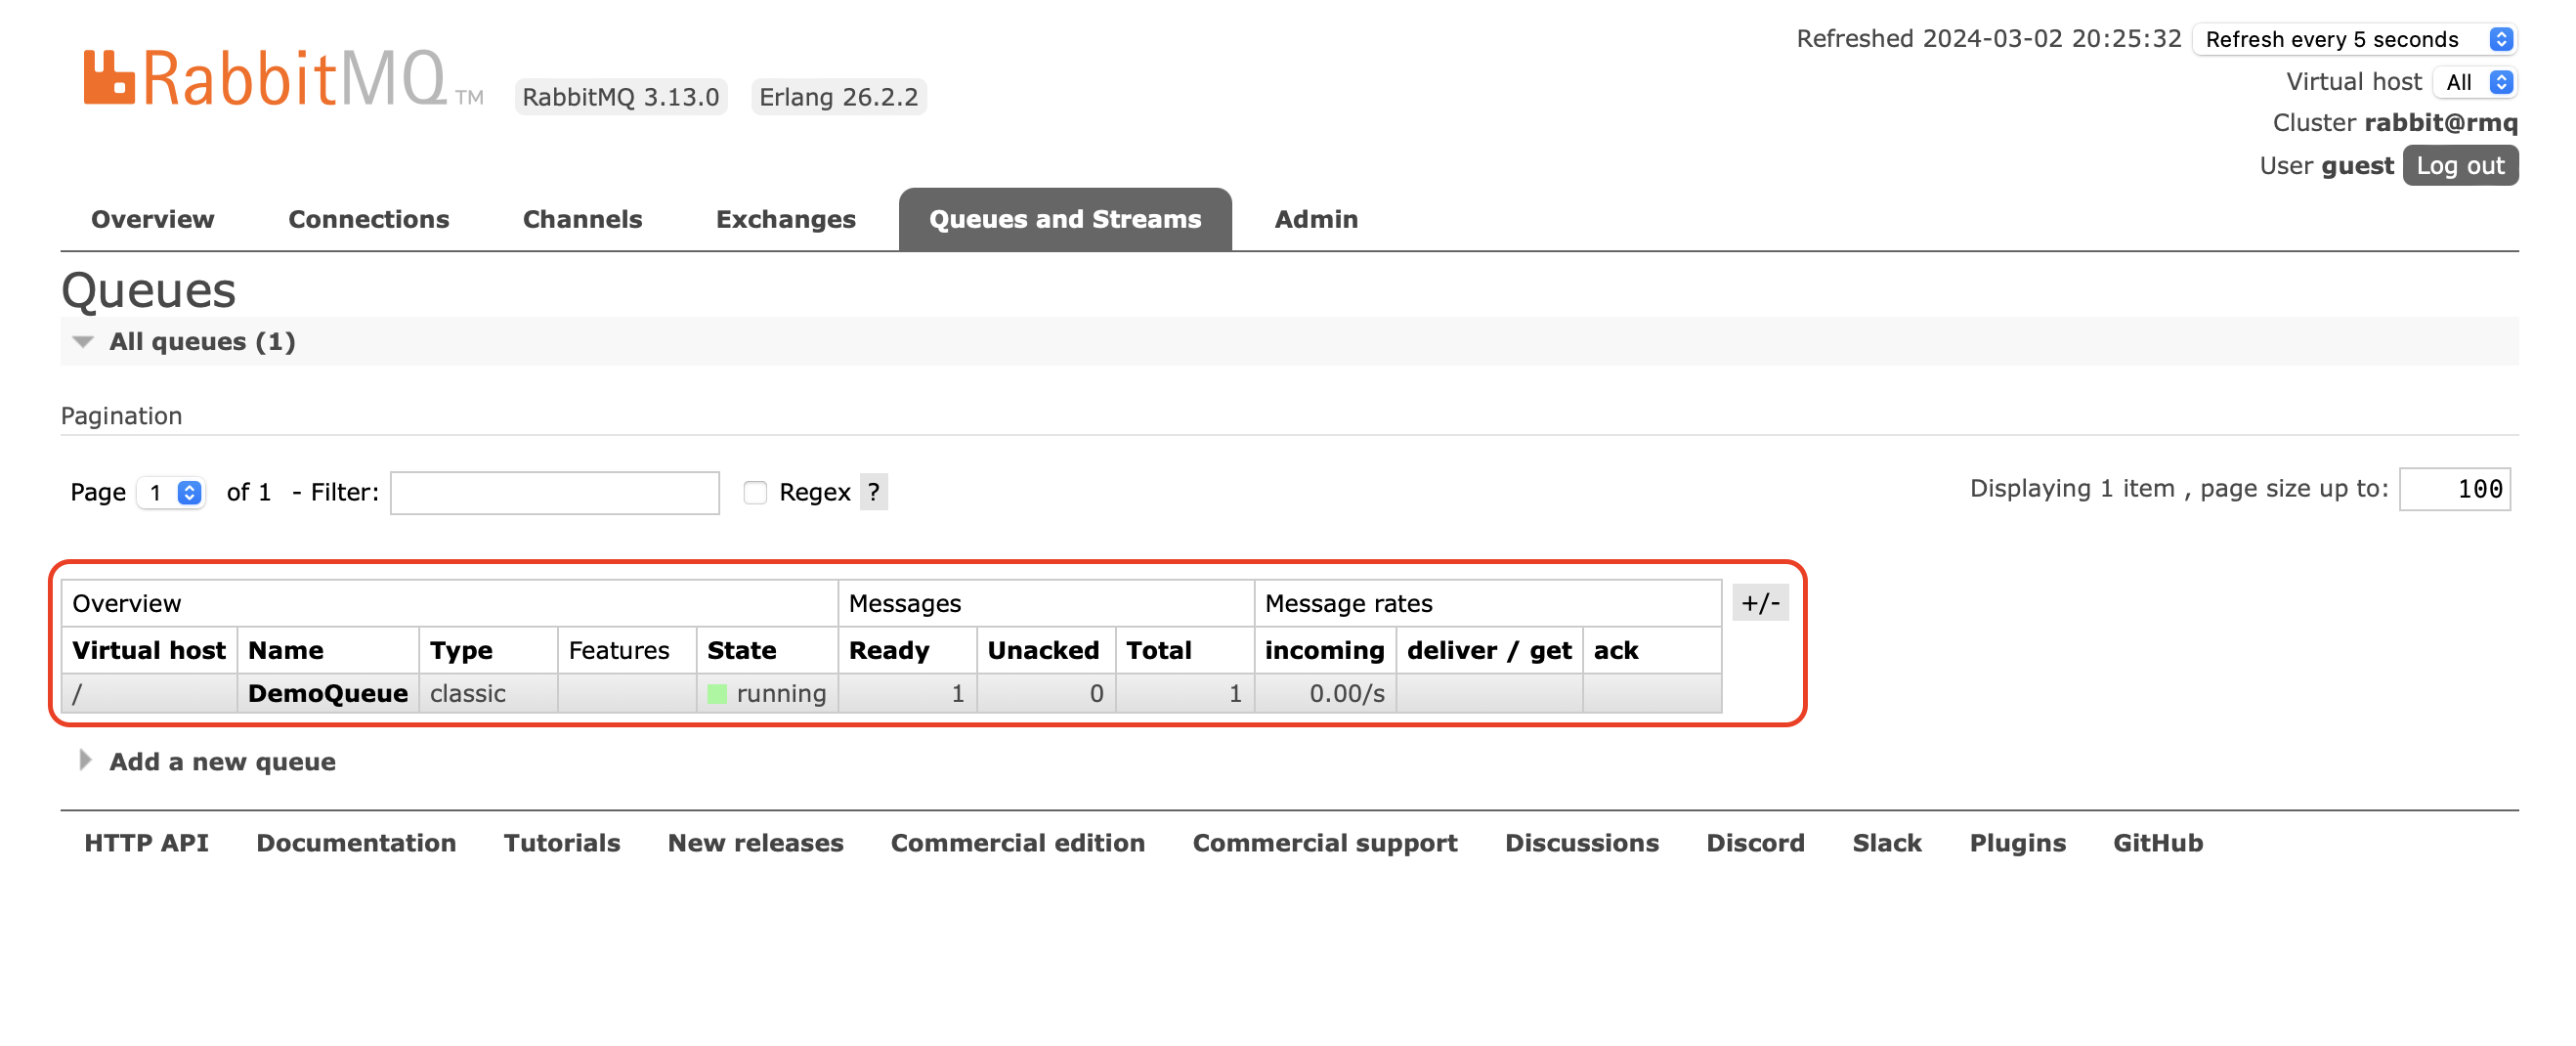
The DemoExchange is connected to DemoQueue. What is created right now is the sender application.
Create a Receiver Application
Now, a receiver application would be created for the next part to this.
A new console app called ‘RabbitReceiver1’ is created and a reference of the nugget package is copied from the previous project to the newly created project
The code for the receiver application shall go as follows:
using RabbitMQ.Client;
using RabbitMQ.Client.Events;
using System.Text;

ConnectionFactory factory = new();
// Provide a Uri string below. Here guest:guest is the username and password respectively,
// 5672 is the port for sending queue messages to the server, defined in docker container
factory.Uri =new Uri("amqp://guest:guest@localhost:5672");
factory.ClientProvidedName = "Rabbit Receiver1 App"; //Any name that you provide

//Connection
IConnection cnn = factory.CreateConnection();

// IModel is the interface of RabbitMQ to create a model
IModel channel = cnn.CreateModel();

string exchangeName = "DemoExchange";
string routingKey = "demo-routing-key";
string queueName= "DemoQueue";

channel.ExchangeDeclare(exchangeName, ExchangeType.Direct);
channel.QueueDeclare(queueName,false,false,false,null);
channel.QueueBind(queueName,exchangeName,routingKey,null);

//prefetchSize:0 - means not limiting the size of the message
//prefetchCount:1 - 1 message to be sent at once. Defining the number of messages to process at a time.
//globa:false - means to apply this setting to the current instance only
channel.BasicQos(0,1,false);

//Consumer setup
var consumer=new EventingBasicConsumer(channel);
consumer.Received +=(sender, args) =>
{
    var body= args.Body.ToArray();

    //Decode the message back to string which was passed earlier in RabbitMQDemo
    string message=Encoding.UTF8.GetString(body);

    Console.WriteLine($"Message Received: {message}");

    // Acknowledgement of the message delivered
    channel.BasicAck(args.DeliveryTag, false);
};

//Tag of the overall consume system
string ConsumerTag =  channel.BasicConsume(queueName,false,consumer);

Console.ReadLine();

// Handle the consumer system and close it
channel.BasicCancel(ConsumerTag);

channel.Close();
cnn.Close();
Execute the code RabbitReceiver1 and it will fetch the message in the queue and display the message in the terminal which was passed in the queue through previous created project.

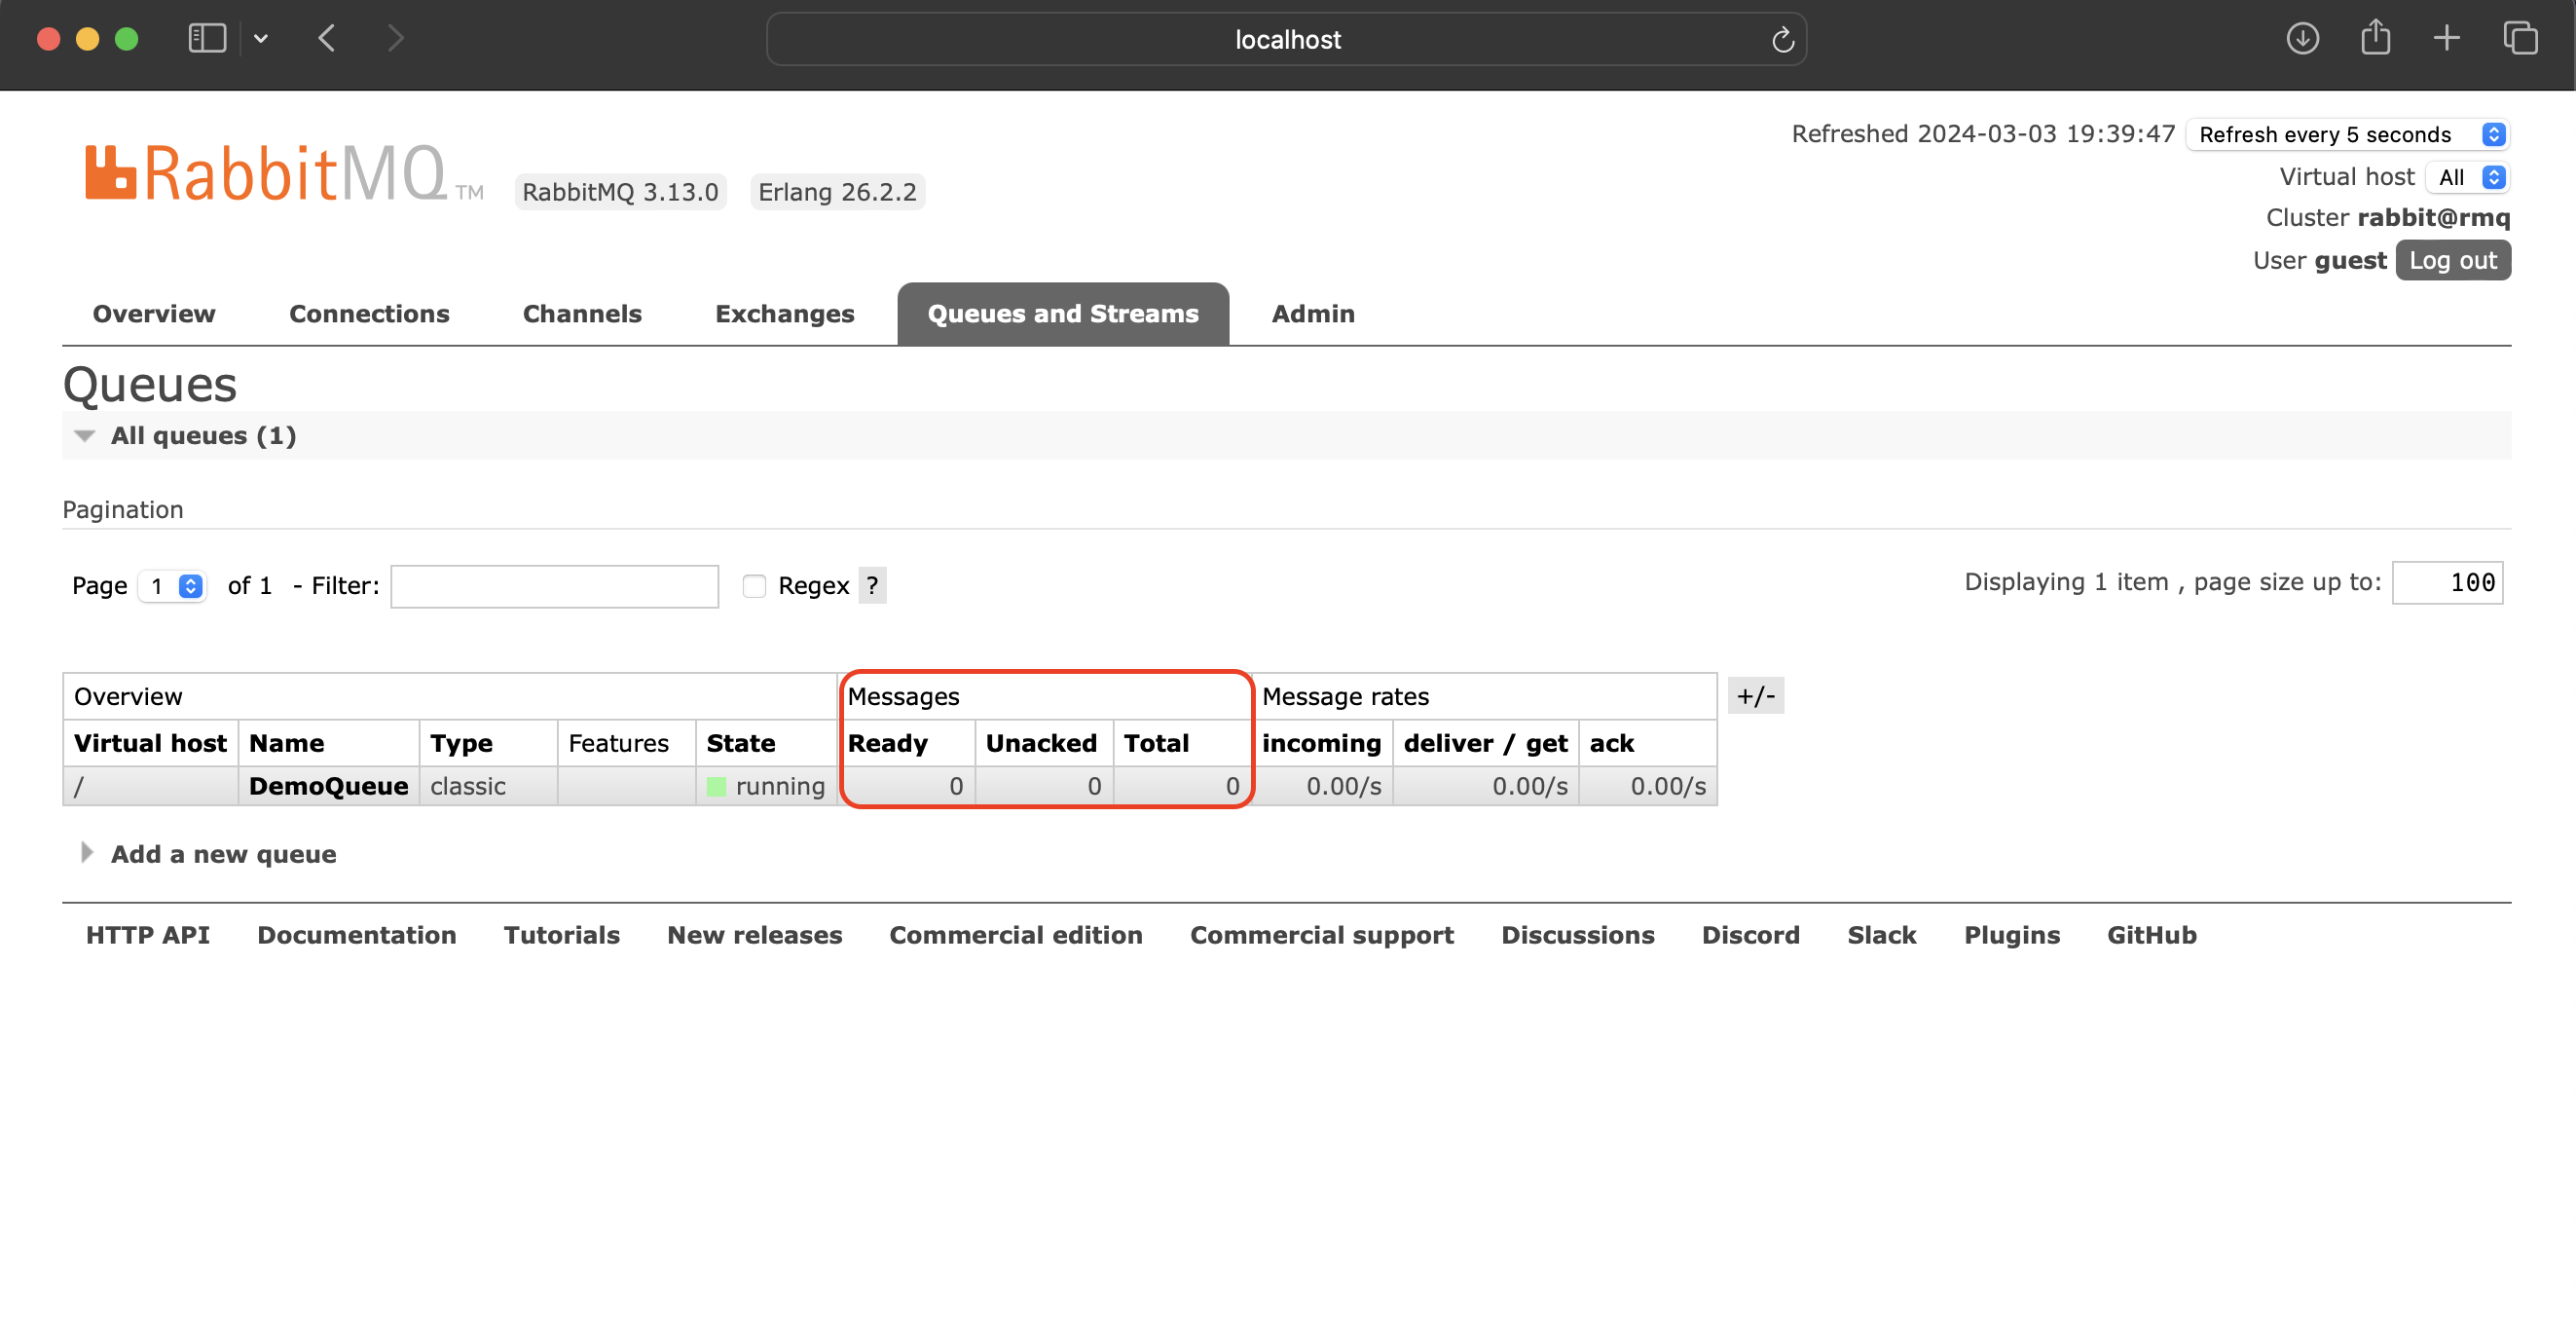
If you check the RabbitMQ server queue, you will find that the count has turned to zero meaning the message has been processed.
This is sort of a disconnected nature of the process and not everything has been take into account. Here I have covered only the basic code and workflow to help one get started with RabbitMQ.
The link to the GitHub repo for the same: https://github.com/AnvaySingh/RabbitMQ
All sorts of comments and feedback are welcome.


